While I was a remote worker for Sun Microsystems, Accessline was the chosen solution for integrating us into the corporate telephone systems. This employer was a major UNIX supplier and user, so they ensured there was a version of AccessLine’s TeleDesk/iControl application (which I’ll call TDiC hereafter – this controlled the service and provided incoming call notifications) created for their UNIX version, Solaris.
As this is a Java application and Linux is a close cousin of UNIX, I figured I could get this version working on my Linux box, which proved true (on several versions of Ubuntu and its derivatives). But there was a little magic required to do so (much less so in the latest version, thankfully). In case you are an AccessLine user looking for a Linux solution, you should be able to make it work for you too by following these steps. The below examples are on a Linux Mint 9 (derivative of Ubuntu 10.04) box, and assumes you have the appropriate Java installed.
Get the software
My former employer was acquired in 2010 and the combined firm has since ceased contracting the AccessLine service. However, as of today, the link to download the UNIX version is still available here. Download this file and save it to your home directory – the following instructions will expect that location, so if you do otherwise, you’ll need to adjust accordingly.
The downloaded file is a script for installing the software.
Run the Installation Script
I set executable permission and tried both double clicking and clicking right on the TeleDesk2.3-010.sh file in Nautilus to execute/run the script, without success (it would offer to open it in Gedit/Text Editor and would then complain about character encoding, but not offer to run). So the easiest way around this was to execute the following command in a terminal window:
sh ~/TeleDesk2.3-010.sh
This starts the installation. You have two places to make decisions or answer questions:
Installation for AccessLine TeleDesk 2.3-010-1

Copyright (c) 2002-2009 AccessLine Communications Corporation, Bellevue, WA (USA)

Java found in PATH environment.

Enter the install directory for TeleDesk.

[default (return) /home/username/AccessLine/TeleDesk]:
I was perfectly happy with the default, so I hit enter/return here and installation continued.
Creating /home/username/AccessLine/TeleDesk ...

Installing in /home/username/AccessLine/TeleDesk ...

Uncompressing installation package using 'gzip -d '...

Extracting installation package...

Update PATH in your shell's profile? [yes or no]
The answer to this determines whether you will need to specify the full path to the TDiC application when you want to run it. If yes, then the path will be added to your defaults and you can start TDiC by simply typing TeleDesk at any terminal prompt.
Update PATH in your shell's profile? [yes or no] yes

/home/username/.profile modified

Installation of TeleDesk complete.
Opening the Application
Once installed, start the application:
username@system:~$ TeleDesk
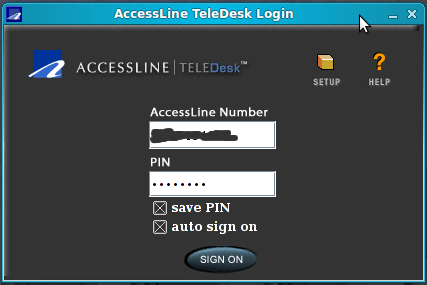
which will open a window:
You can then enter your applicable information and configure the selected sounds for alerts, etc. through clicking the SETUP icon. This will open another window:
From here forward, it works like it is documented on the AccessLine site for other platforms. The one problem is you’ll need to open a terminal and type that command each time you want to run it, which is inconvenient. No problem, we can fix that by creating a Launcher.
Adding a Launcher under the Applications Menu
You’ll want to have a nice image for your launcher, so you could use this one: ![]() . Save it as
. Save it as AccessLine.png in the same AccessLine subdirectory under your home as above.
For a GNOME desktop, you can add a launcher to the Applications menu by clicking on System => Preferences => Main Menu.
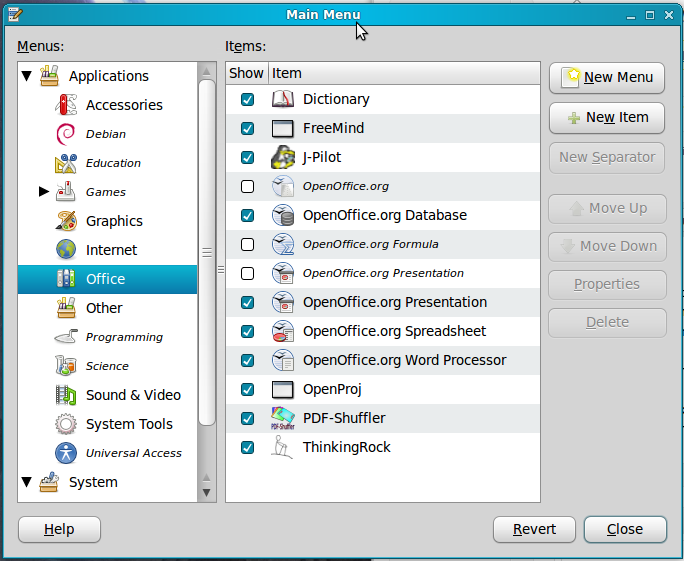
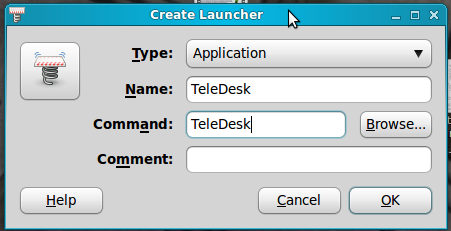
Here we select the Office section and click on New Item. Make the entries in the new window look like below.
To add the nice icon to the launcher, click on the launcher (platform on a spring) icon to open the Choose an icon dialog, and pick that image file you downloaded:
![]()
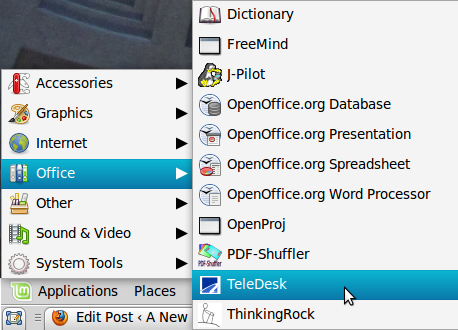
and then click Open to set it as the image. Click OK on the Create Launcher window. You can now launch TeleDesk from the main menu:
Adding a Launcher to a GNOME Panel
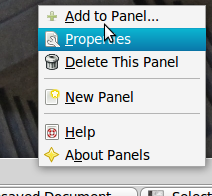
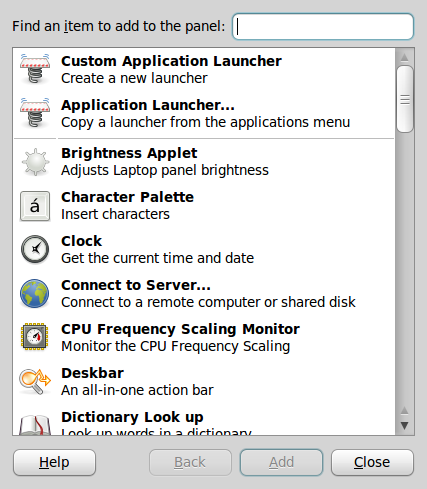
Two ways to do this. If you didn’t add the launcher to the main menu as above, then you can click right on an open space on a panel and select Add to Panel...
then select Custom Application Launcher and Add, which will continue just like the main menu approach above to create the launcher.
But if you did add TeleDesk to the main menu, then the easiest way to create the panel launcher is to simply drag the TeleDesk icon from the main menu to where you want it on the panel. It will be added there automagically.
Now you can enjoy having TeleDesk on your Linux box!

